Transform Tired Boards: From Scratched to Stunning
Surbiton homes have character in spades: handsome Victorian terraces near Maple Road, 1930s semis around Berrylands, and sleek riverside apartments a stroll from the station. Across all of them, timber floors are the quiet star—warming a room, softening echoes, and anchoring your décor. When those boards turn dull, scratchy or yellowed, the right restoration doesn’t just make them presentable; it makes them beautiful. If you’re considering Wood Floor Sanding in Surbiton—whether for a hallway refresh or a full-home makeover—this guide walks you through every decision with zero fluff and plenty of practical detail.
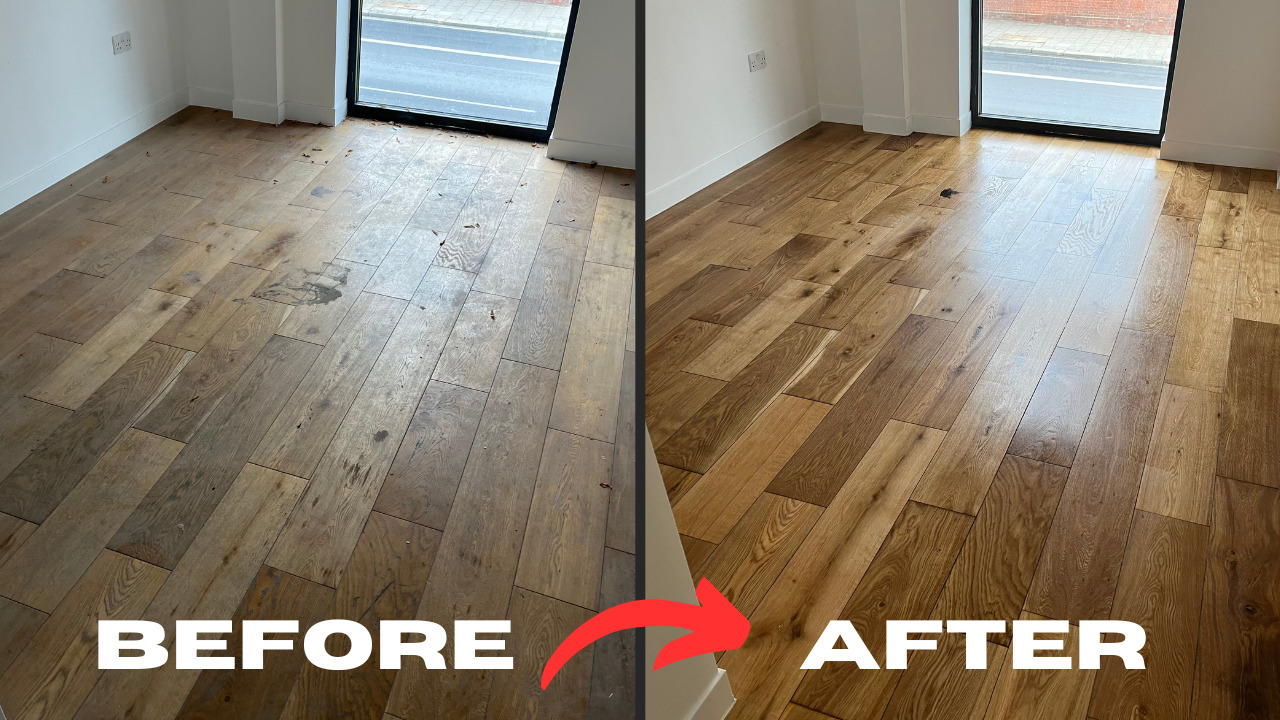
What actually happens when a floor is sanded?
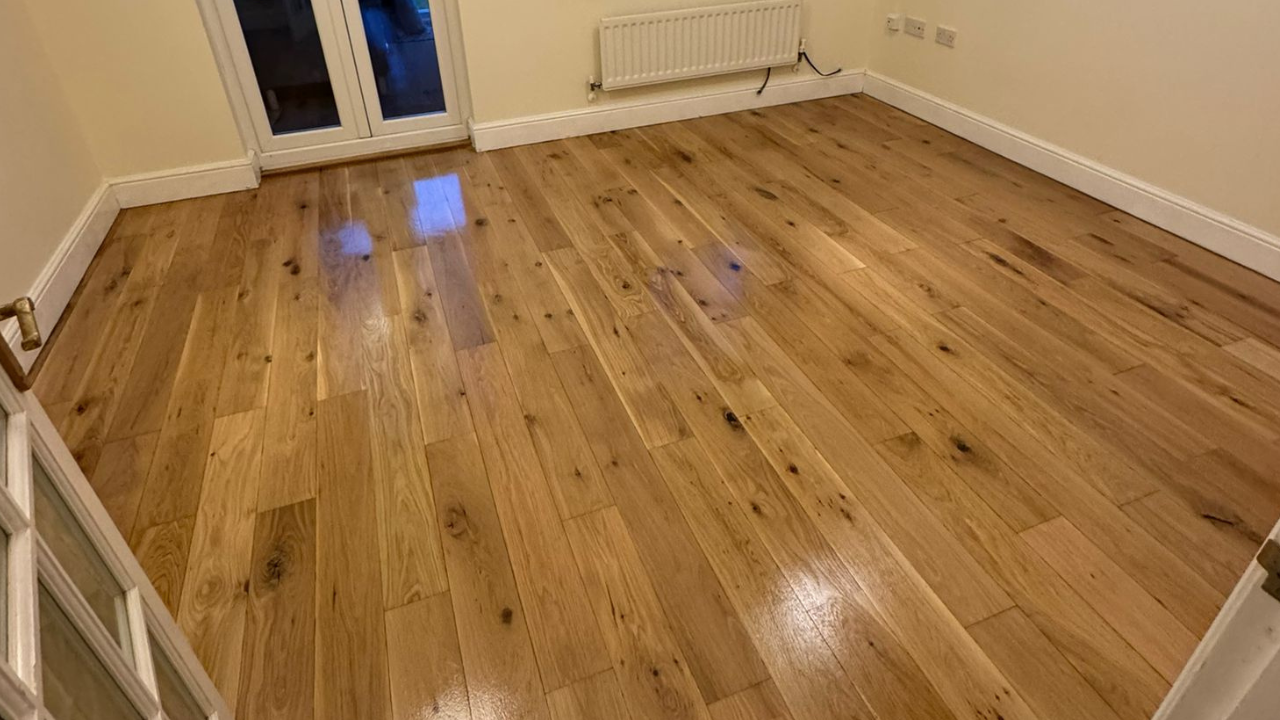
Put simply, Wood Floor Sanding is the controlled removal of a thin, damaged layer from the top of your timber. That top layer is where the scratches, dents, old finish and discolouration live. By abrading the surface in stages—moving from coarser to finer grits—you reveal fresh, clean wood. After that, the timber is sealed with an oil, lacquer or hardwax oil to protect it against daily life.
A few important clarifications:
- It’s restorative, not destructive. A professional removes as little material as necessary—often less than a millimetre across the main area—preserving the life of your floor.
- It’s precise. Edges, corners, around radiators and under stairs are handled with different machines so the overall surface sits flat and consistent.
- It’s finish-agnostic. Sanding prepares the canvas. Your sheen level (matt, satin, gloss), colour (from natural to smoked or Nordic pale) and feel (silky or ultra-matt) are decided during the finishing stage.
Is your floor suitable—and when is the right time?
Most solid and engineered timber floors in Surbiton can be renewed multiple times, provided there’s enough thickness above the tongue. Solid pine and oak boards from period properties are usually ideal; engineered floors often allow one to three full restorations depending on their wear layer.
Tell-tale signs it’s time:
- Grey traffic lanes that no product can lift.
- White scratch marks where the finish has been breached.
- Patchy sheen—some areas shiny, others dull.
- Deep ambering on old varnish giving that orange cast.
- Gaps and draughts making rooms feel colder and dustier than they should.
If you notice two or more of the above, it’s a strong indication that Wood Floor Sanding is due. Seasonally, spring and early autumn are popular in Surbiton: milder temperatures help finishes cure comfortably with windows cracked for airflow.
The step-by-step process (what to expect day by day)
Here’s how professional Wood Floor Sanding typically unfolds in a Surbiton home. Timings vary by room size and complexity, but the sequence remains broadly the same.
1) Survey and plan
A technician checks board condition, moisture readings, previous coatings, squeaks, loose fixings and the depth available for restoration. They’ll talk through colour options, sheen, and any repairs (replacing broken boards, removing old gripper rods, or fixing thresholds).
2) Preparation and protection
Skirting, fireplaces, radiators and built-ins are assessed for clearance. Doorways and vents are masked. Furniture is removed or grouped and protected. Electrical sockets and fragile items are shielded. In communal areas—especially flats off Maple Road—corridor protection prevents dust trekking.
3) Repairs and gap work
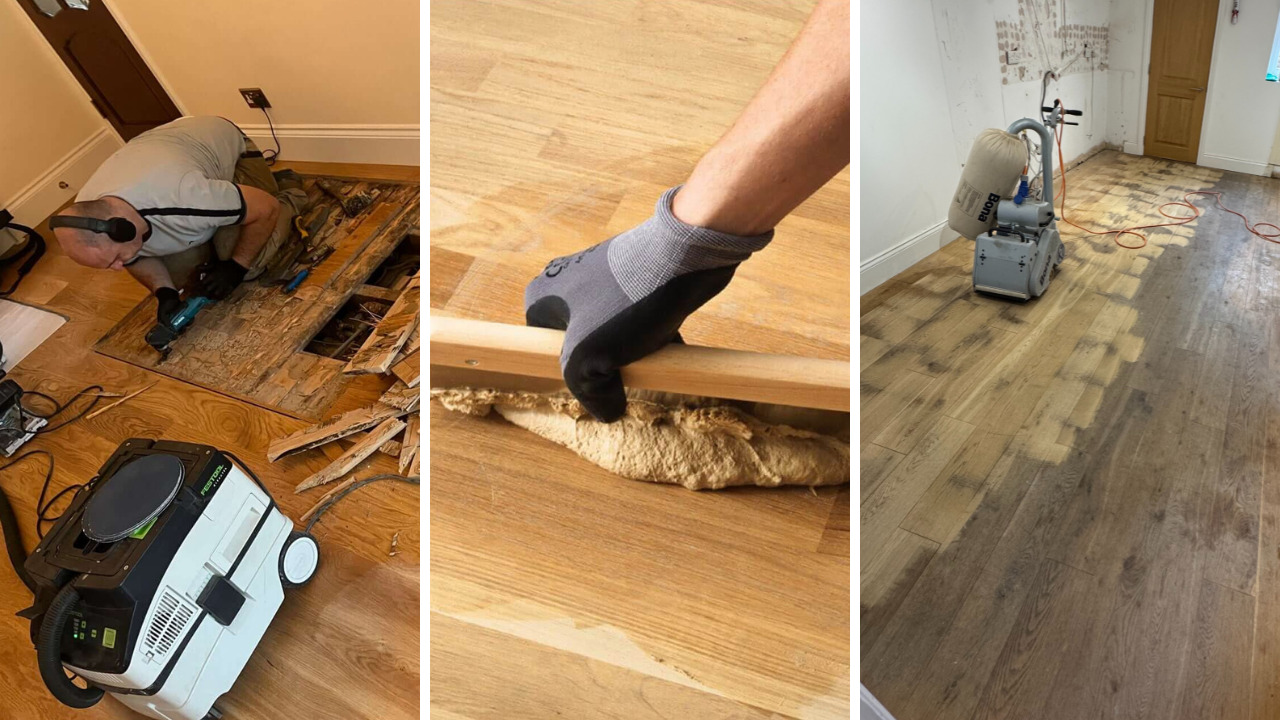
Nails are punched, screws countersunk, loose boards re-fixed and squeaks treated. Gaps can be filled with resin and fine wood flour for a sleek, draught-reducing finish, or left slightly open for a more rustic look. Blackened nail holes and water marks are addressed before the main sanding begins.
4) Primary sanding (levelling pass)
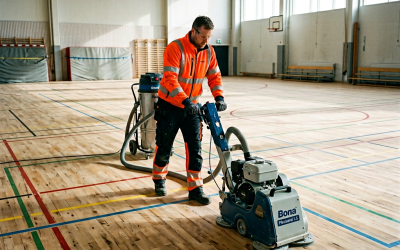
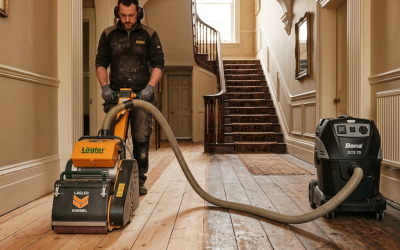
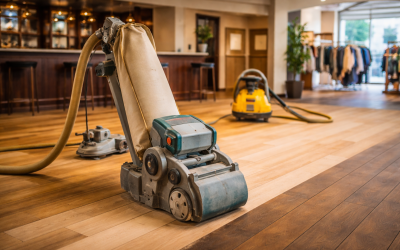
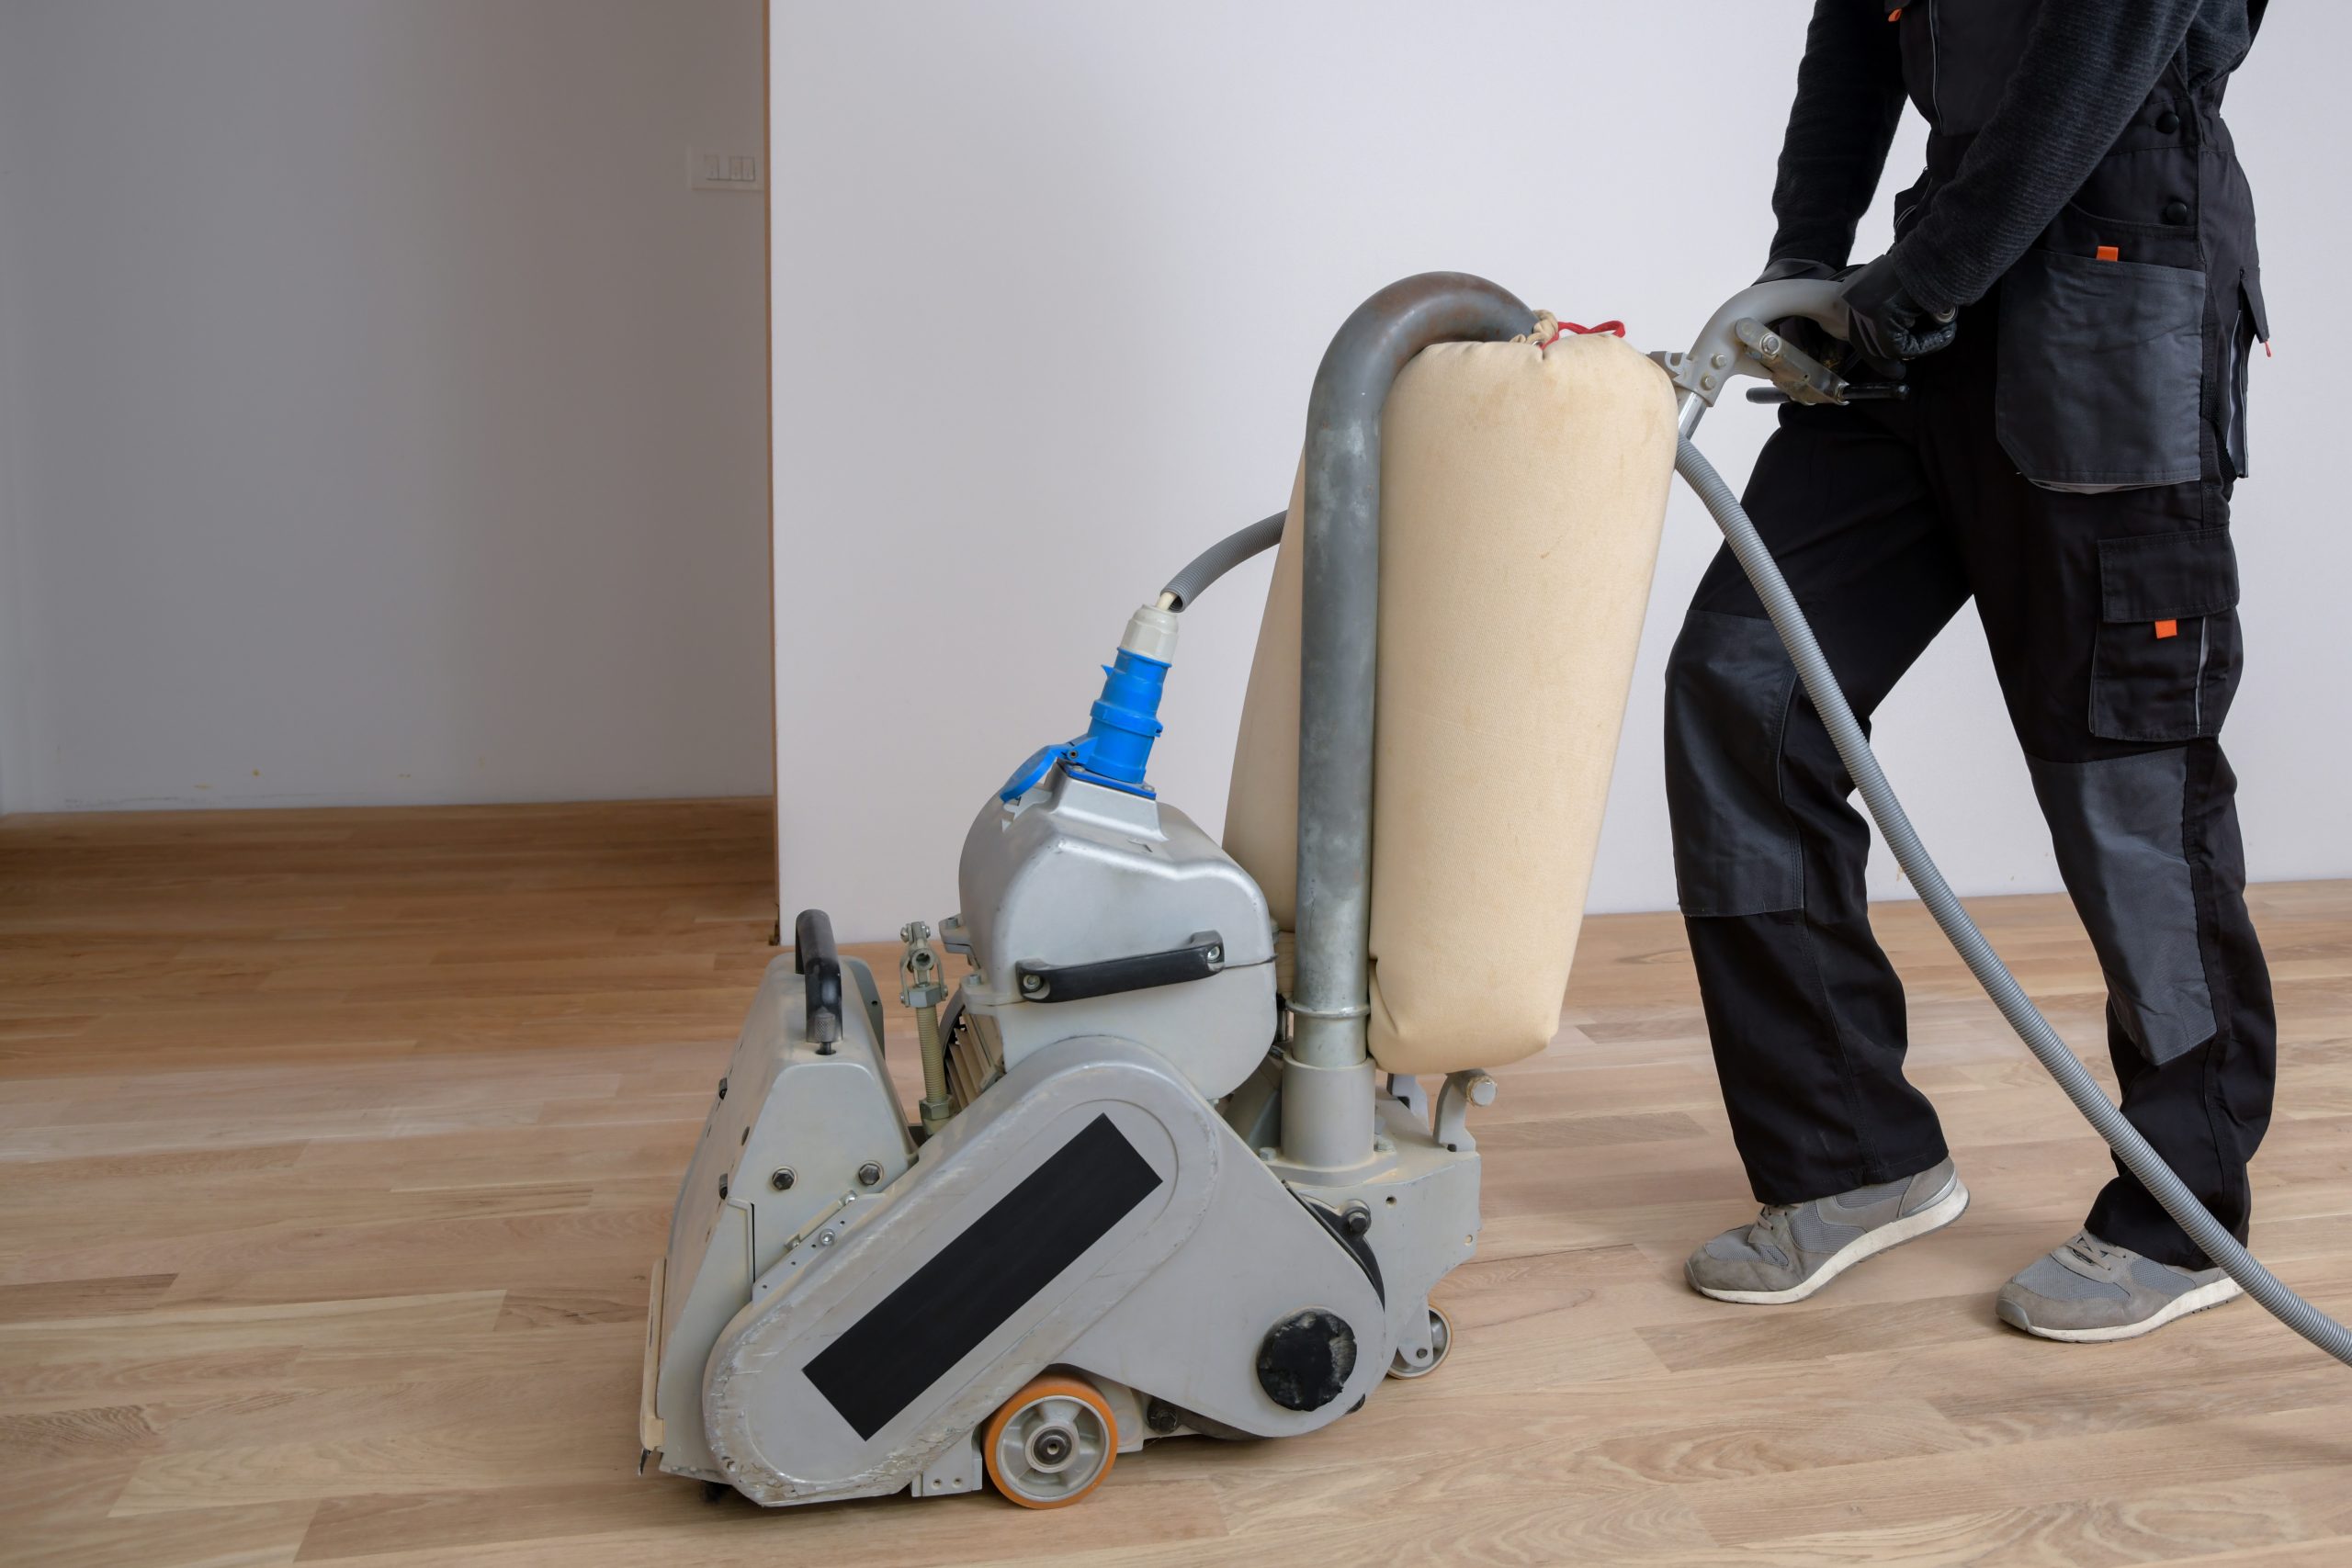
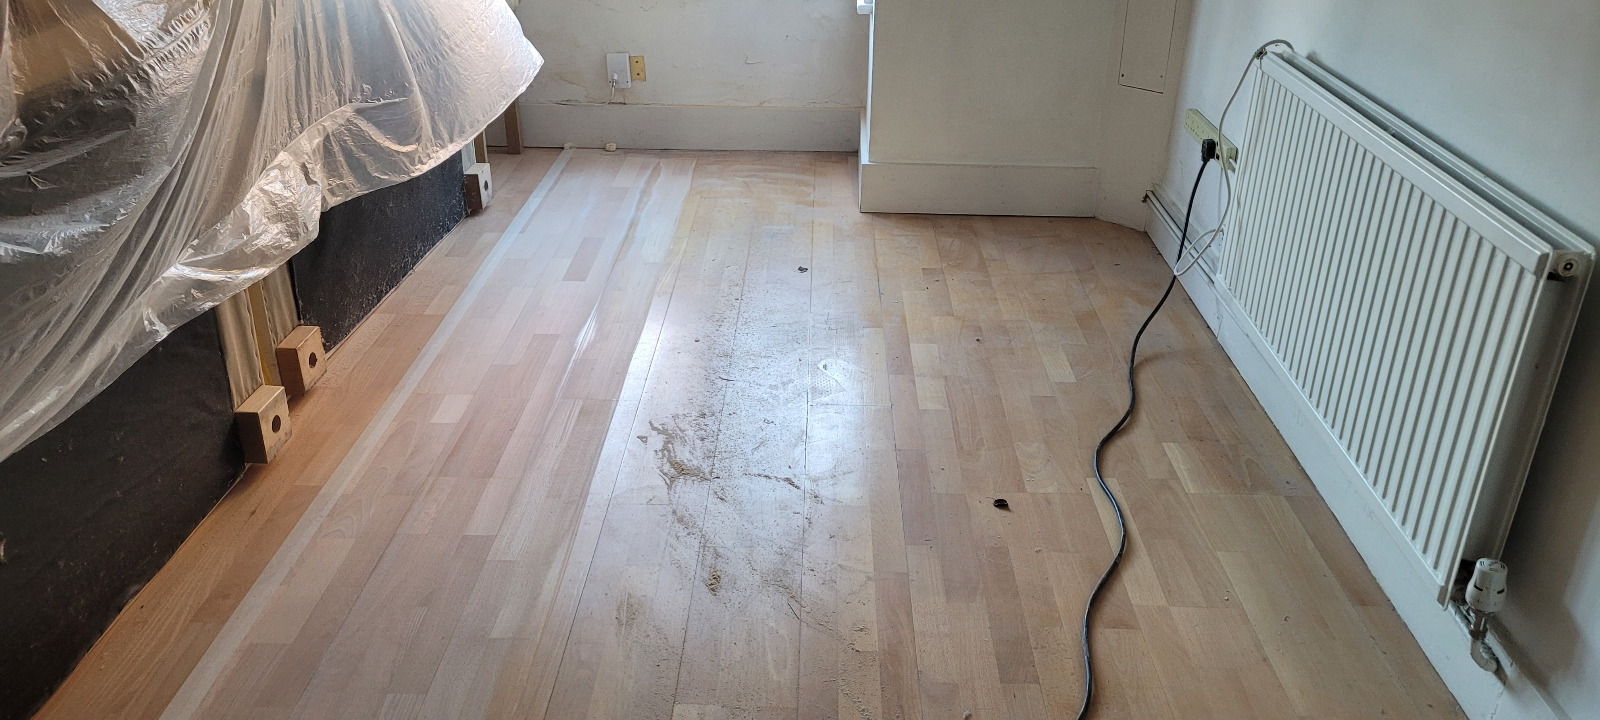
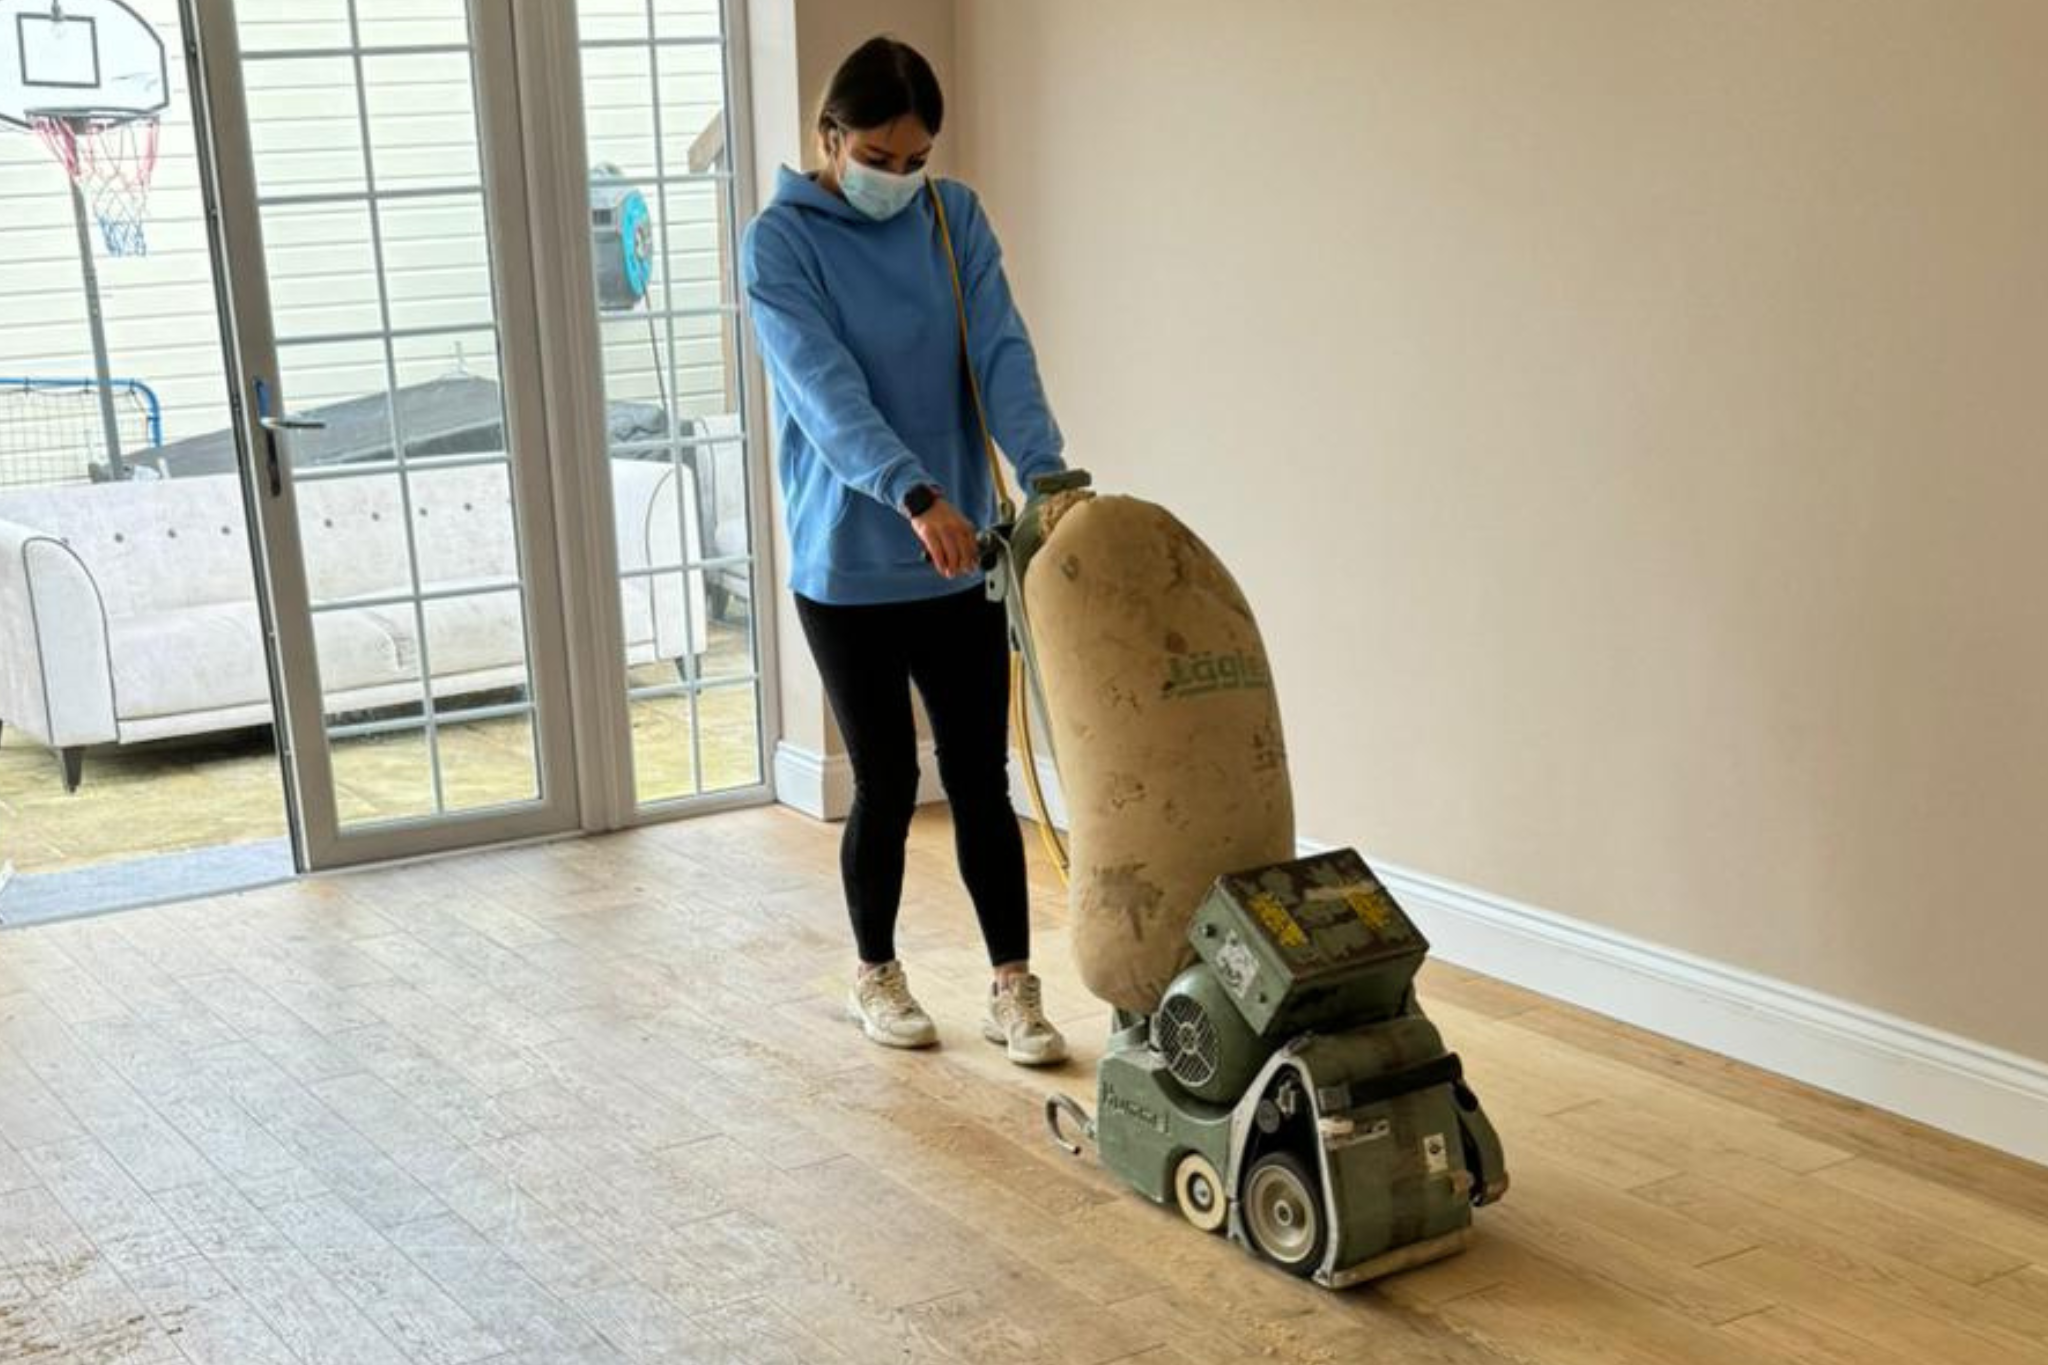
A belt or drum sander flattens high spots and removes the bulk of old finish using a coarse grit. The operator moves with the grain (or at a controlled angle on boards with cupping) to keep the pattern even.
5) Edging and detail
Edges, corners and stairs are tackled with specialised machines. The goal: blend them seamlessly into the main field so you don’t get that tell-tale “halo” around the room perimeter.
6) Progressive refinement
The floor is sanded again through medium and fine grits to close the scratch pattern. On parquet—herringbone and chevron are common in Surbiton—the sequence prevents cross-grain scratches that would telegraph through stain.
7) Dust extraction
Modern planetary and belt machines connect to high-capacity extraction. You’ll still see a whisper of fine dust (it’s timber, after all), but the difference between pro-grade extraction and DIY hire is night and day for both cleanliness and air quality.
8) Colour trials and staining (optional)
If you’re changing colour—smoked oak, Nordic pale, rich walnut—test patches are applied in natural light. Surbiton homes get plenty of daylight; always judge samples at different times of day to avoid surprises.
9) Sealing and finishing
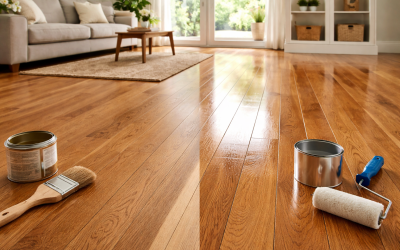
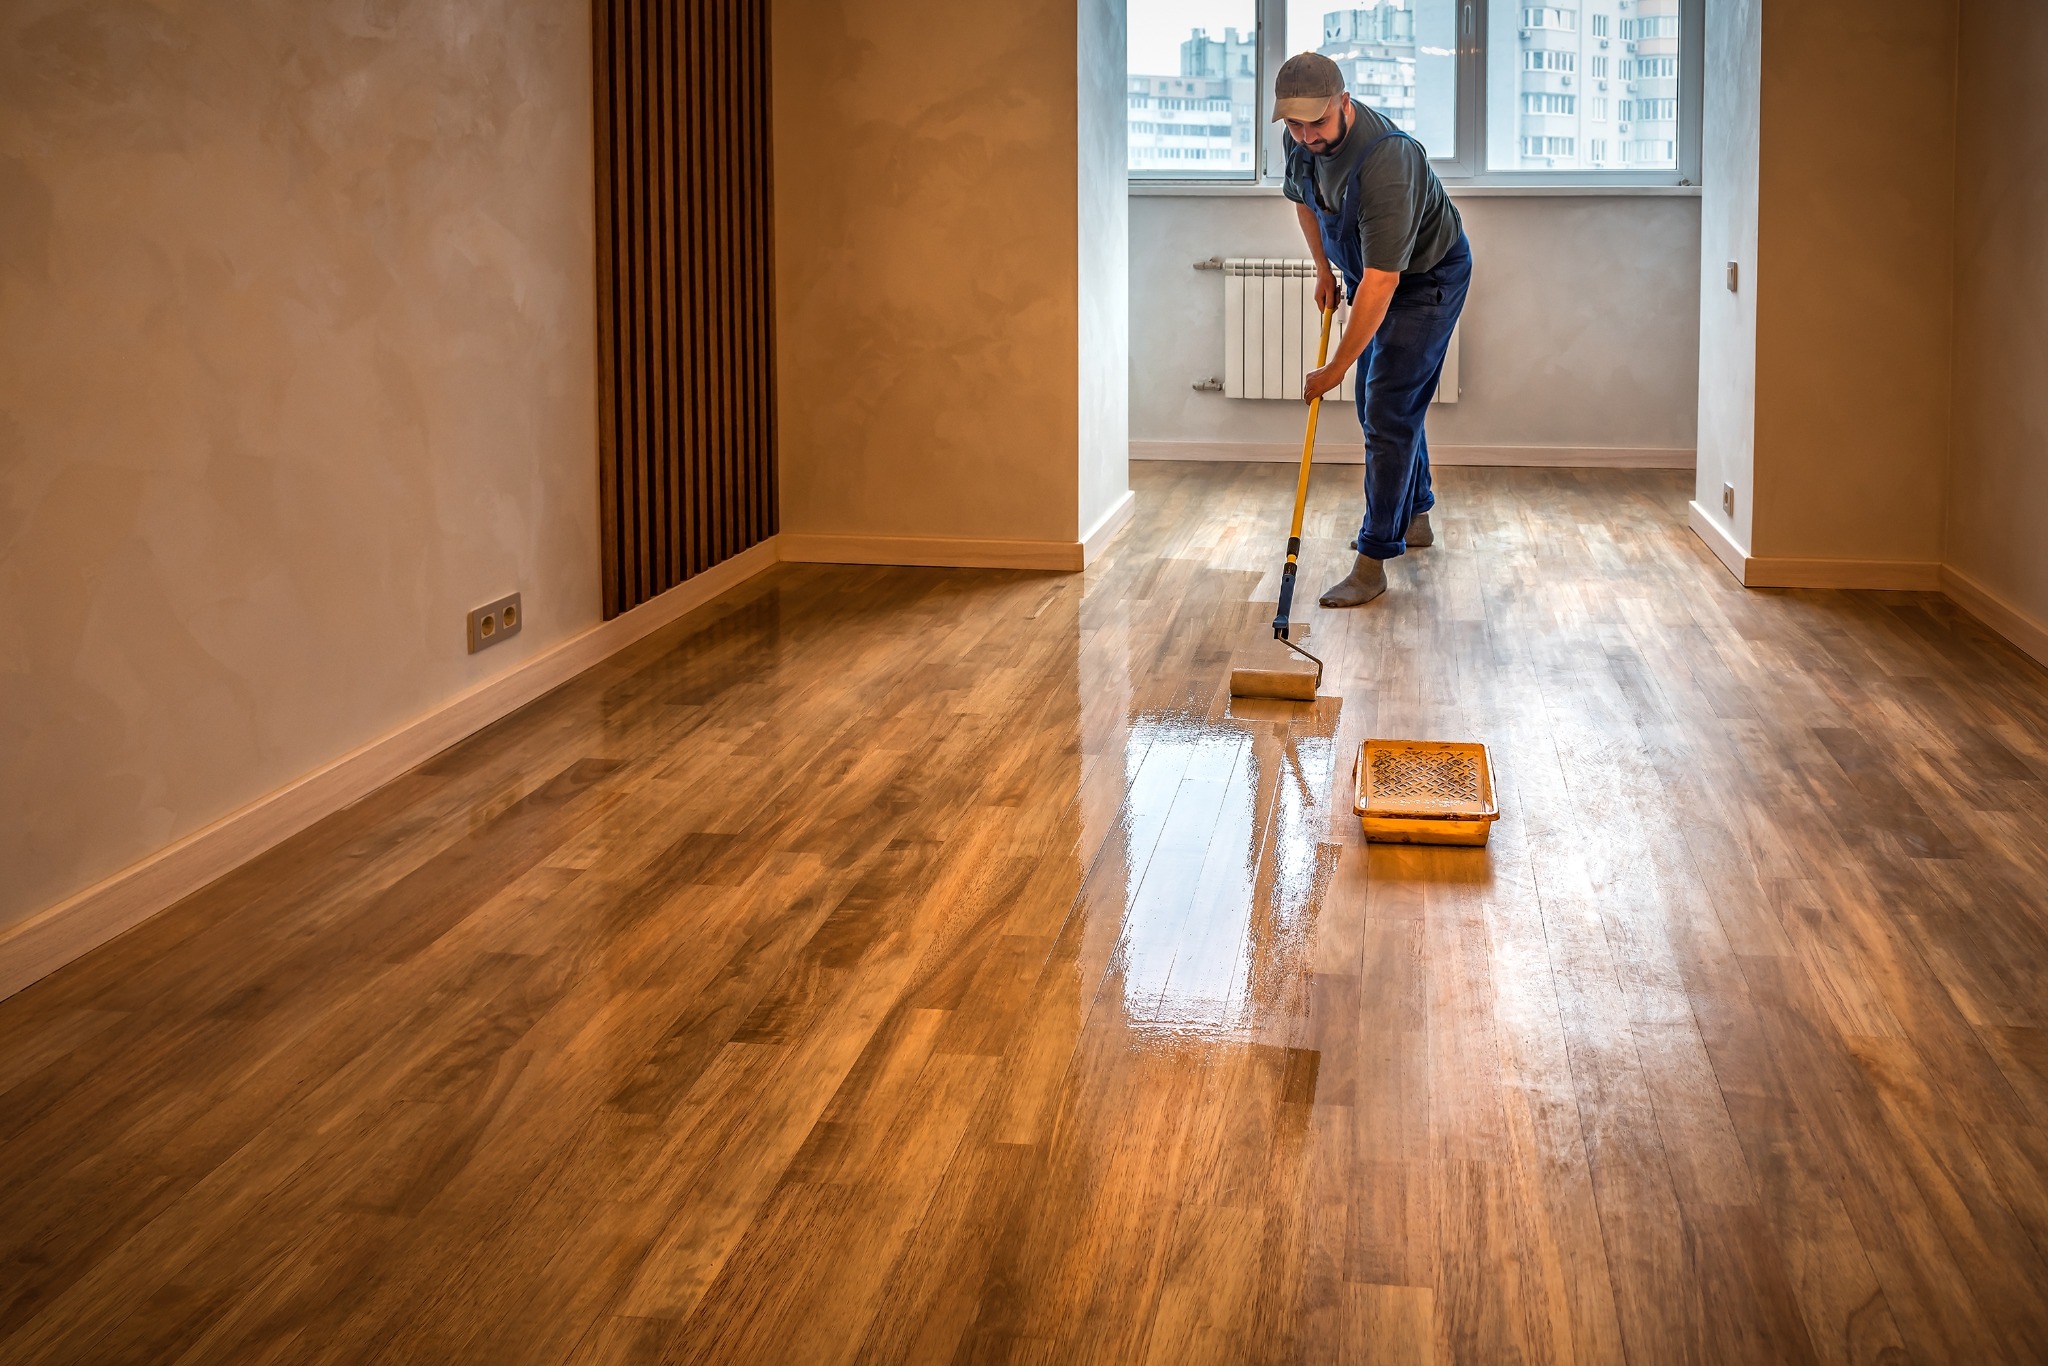
Three coats is standard for lacquers; two to three for oils and hardwax oils depending on the product. Each coat has a light de-nib sand for a flat, tactile finish. Dry and cure times are observed meticulously so the surface reaches its design hardness.
10) Final clean and handover
Edges are checked, furniture pads fitted, and maintenance advice given. You’ll receive a care sheet covering cleaning products, felt pads, and re-coat schedules.
Choosing a finish: lacquer, oil or hardwax oil?
Lacquer (water-based polyurethane)
- Look: from ultra-matt to satin and gloss.
- Feel: smooth, consistent film.
- Durability: excellent scratch and spill resistance for busy households.
- Maintenance: easy day-to-day; when tired, plan a re-coat before it wears through.
Hardwax oil
- Look: natural, warm, gently matt.
- Feel: wood-forward, slightly textured.
- Durability: very good; micro-scratches blend more gracefully than on higher-sheen films.
- Maintenance: occasional top-ups keep it fresh without a full resand.
Penetrating oils
- Look: beautifully natural with depth of grain.
- Feel: “close to the wood”.
- Durability: relies on regular maintenance; great where a lived-in patina is welcome.
Which suits Surbiton living?
Open-plan family spaces often lean to ultra-matt lacquers (for robustness and a modern look). Period hallways and living rooms look superb in hardwax oil that celebrates grain and softens edges. Kitchens benefit from high-quality lacquers for steam and spill resistance—paired with mats at sink and hob stations.
Colour decisions that won’t date in twelve months
Trends come and go; your floor is a long-term commitment. Here’s how to choose smartly:
- Light and bright: Nordic pales and white tints bounce daylight deep into rooms—brilliant in basements and north-facing bay windows on Lovelace Gardens.
- Warm and classic: Natural or lightly ambered oak suits 1930s semis and ties in with period joinery.
- Smoked and sophisticated: Mid-to-dark browns feel grounded in larger reception rooms and open-plan kitchen-diners.
- The test patch rule: Always judge samples in your lighting, morning and evening. A colour that dazzles in a showroom can look different under your bulbs and aspect.
Preparing your home: the stress-free checklist
- Declutter and clear: Move smaller furniture, books and décor items ahead of time.
- Lift window dressings: If curtains skim the floor, tie them up or remove them.
- Fridge routes: If the kitchen’s included, plan where appliances will sit during works.
- Parking and access: Reserve a space near your property for equipment.
- Neighbours in flats: Pop a courteous note in the lift or hallway; professional teams manage noise hours and corridor protection.
Timings: how long does it take?
As a rule of thumb:
- Small room (10–14 m²): roughly a day including finishing.
- Average lounge or bedroom (18–22 m²): 1–1.5 days.
- Whole two-bed flat: 3–4 days depending on layout and repairs.
- Stairs and landings: add a day; detail work takes patience.
Dry-to-touch can be within hours, but cure time is different. For lacquers, avoid heavy furniture and rugs for 5–7 days; for oils/hardwax oils, follow the product’s cure guidance. Felt pads go on immediately; high heels stay off until full cure.
What does it cost—and what affects the price?
In Surbiton, pricing reflects floor area, repair needs, chosen finish and access (flats vs houses). Expect a transparent quotation with line items for repairs, gap filling, stain, and finish choice. Beware of quotes that seem implausibly low: finishing systems, abrasives and skilled labour are the backbone of longevity. A robust specification for professional Wood Floor Sanding may cost a fraction more up front but saves you from premature re-sands or patchy wear.
Cost influencers:
- Preparation time: removing staples, gripper rods, historic bitumen.
- Repairs: replacing split boards, treating blackened water marks.
- Patterned floors: herringbone and Versailles panels require more careful sequences.
- Finish system: premium ultra-matt lacquers and high-solids hardwax oils cost more but outperform budget options.
- Access: upstairs flats without lifts, parking restrictions and tight stairwells add handling time.
Noise, dust and cleanliness: what to realistically expect
Professional extraction turns a once-messy trade into a remarkably tidy process. You’ll still see a light film of wood flour during sanding stages (it’s the nature of timber), but the big, choking clouds are gone with the right kit. Noise is present during machine passes, yet teams schedule the loudest tasks considerately—especially important in apartments near the station or along Portsmouth Road. Doors are kept closed, hallway protection is used, and a full clean-down happens before handover.
Pets, children and indoor air quality
If you have little ones or curious pets, plan a mini-holiday to the grandparents or time works while they’re at school. Low-VOC finishes mean odours are mild and dissipate quickly; good ventilation speeds this along. Ask for product safety data sheets if you’re sensitive to fumes—any reputable contractor will share them.
DIY vs professional: where projects go wrong
On paper, hiring a sander looks tempting. In practice, DIY results often struggle with four problem areas:
- Uneven levelling that leaves ripples visible in raking light.
- Edge halos where the perimeter doesn’t blend into the field.
- Scratch pattern telegraphing through stain or topcoat.
- Finish application errors—lap marks, bubbles, debris in the film.
DIY Wood Floor Sanding also lacks the dust extraction, abrasive progression and product knowledge that make floors durable as well as attractive. If you value your evenings and weekends—and want consistent results across rooms—professional help is worth it.
Sustainability and the green case for restoration
Refinishing extends the life of materials already in your home. You keep timber sequestering carbon underfoot rather than sending boards to landfill. Modern water-based lacquers and high-quality oils are low-odour and low-VOC, and sanding machines with efficient motors sip power compared to demolition and re-installation. When you factor in the by-products of new flooring—manufacture, transport, packaging—restoration is a clear eco win.
Aftercare: make your new finish last
After Wood Floor Sanding, a simple routine keeps the surface looking freshly finished for years:
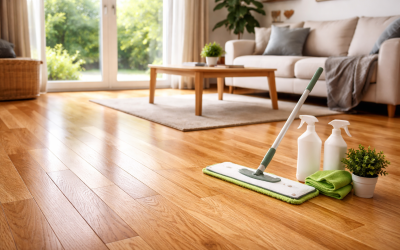
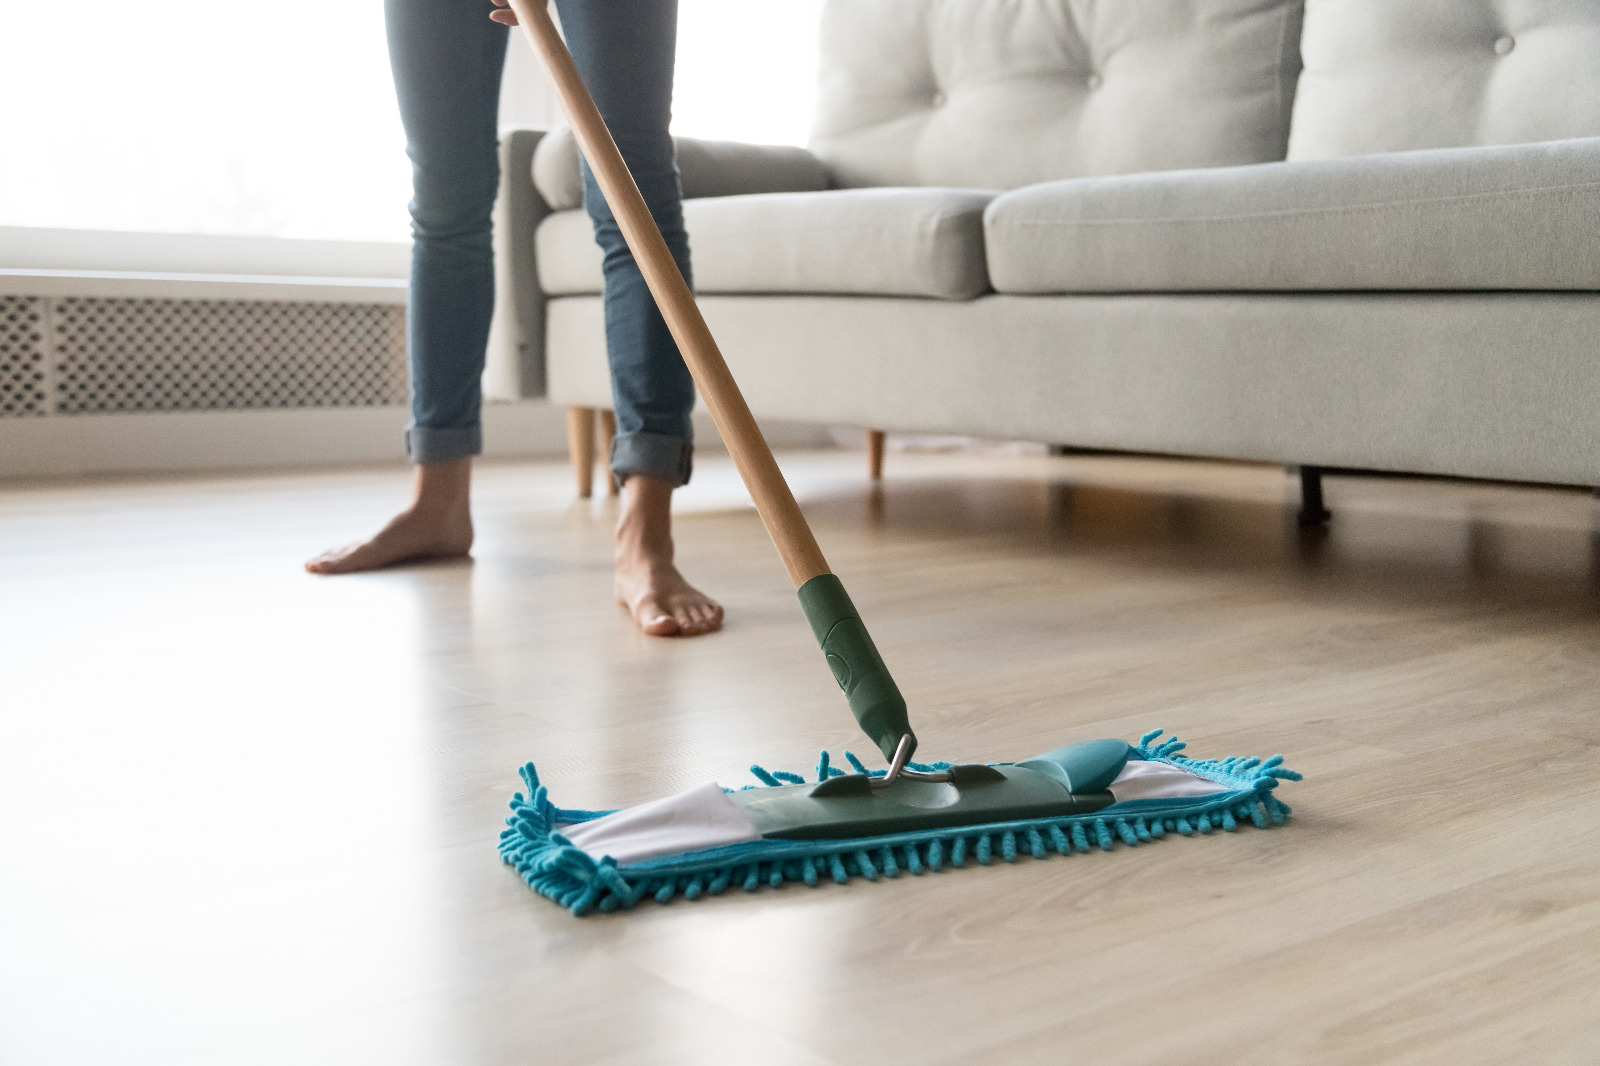
- Daily/weekly: vacuum with a soft brush head; microfibre mop for dust.
- Spills: lift promptly with a barely damp cloth; avoid soaking.
- Mats and pads: entrance mats trap grit; felt pads under chairs prevent scuffs.
- Products: use pH-neutral cleaners designed for timber finishes—no bleach, steam or all-purpose sprays.
- Re-coating: plan a maintenance coat before wear lines pierce the finish. Proactive re-coats are fast, economical, and prevent the need for another full resand too soon.
Common Surbiton scenarios (and how to handle them)
Period pine boards with draughts
Gap filling with resin and fine dust, plus a satin lacquer or hardwax oil, gives a smarter look and warmer room. Toe-kicks and skirtings benefit from a fresh bead of decorator’s caulk to seal the deal.
Open-plan kitchen-diner
Choose a finish that resists frequent mopping and stray splashes. Ultra-matt lacquers give a modern look without the plastic shine.
Basement or garden flat with limited light
Go lighter in tone and lower in sheen for a calm, airy feel. A white-tinted oil or ultra-matt lacquer bounces light without glare.
Busy households with dogs
Hardwax oils hide micro-marks gracefully and are easy to patch-repair in wear zones like back-door thresholds.
Frequently asked questions
Will sanding remove deep stains and pet marks?
Often, yes—especially surface-level blackening. If a stain has penetrated deeply, a board swap may be the better fix. Your survey will identify which.
Can engineered floors be restored?
If the wear layer is 3–6 mm, absolutely. Veneers under ~2.5 mm are risky; they’re better maintained with gentle re-coats until replacement.
How soon can I put rugs down?
Wait until full cure: typically 5–7 days for water-based lacquers and as advised for oils/hardwax oils. Early rugs can imprint.
What about underfloor heating?
It’s fine, but keep temperatures moderate. Rapid heat swings stress timber and finishes. Your contractor will follow product-specific guidance.
Bringing it all together
A great result is the sum of small, careful decisions: the right abrasive sequence, the right filler, the right finish for your lifestyle—and the discipline to let each coat cure fully. Done well, floors gain depth, clarity and a wonderfully tactile feel underfoot. They also support Surbiton’s way of life: bright rooms, family gatherings, and interiors that blend classic architecture with modern comfort.
If your hallway boards look tired, your lounge parquet has yellowed, or you’re preparing a property for sale, a professional survey will clarify options and timings—and help you choose colours and finishes with confidence. Ready to talk through ideas for your home off Portsmouth Road, in Berrylands, or near the river? Use this guide as your starting point, and when you’re set to move from inspiration to action, book a visit and turn plans into timber you’ll love living with.